Deep Draw Stamping: Design Considerations & Tips
Deep draw stamping is a versatile metal forming process that transforms flat sheet metal blanks into complex, three-dimensional shapes. It is widely used in industries such as automotive, aerospace, electronics, and medical devices. This guide explores the key design considerations and practical tips to optimize your deep draw stamping projects for quality, efficiency, and cost-effectiveness.
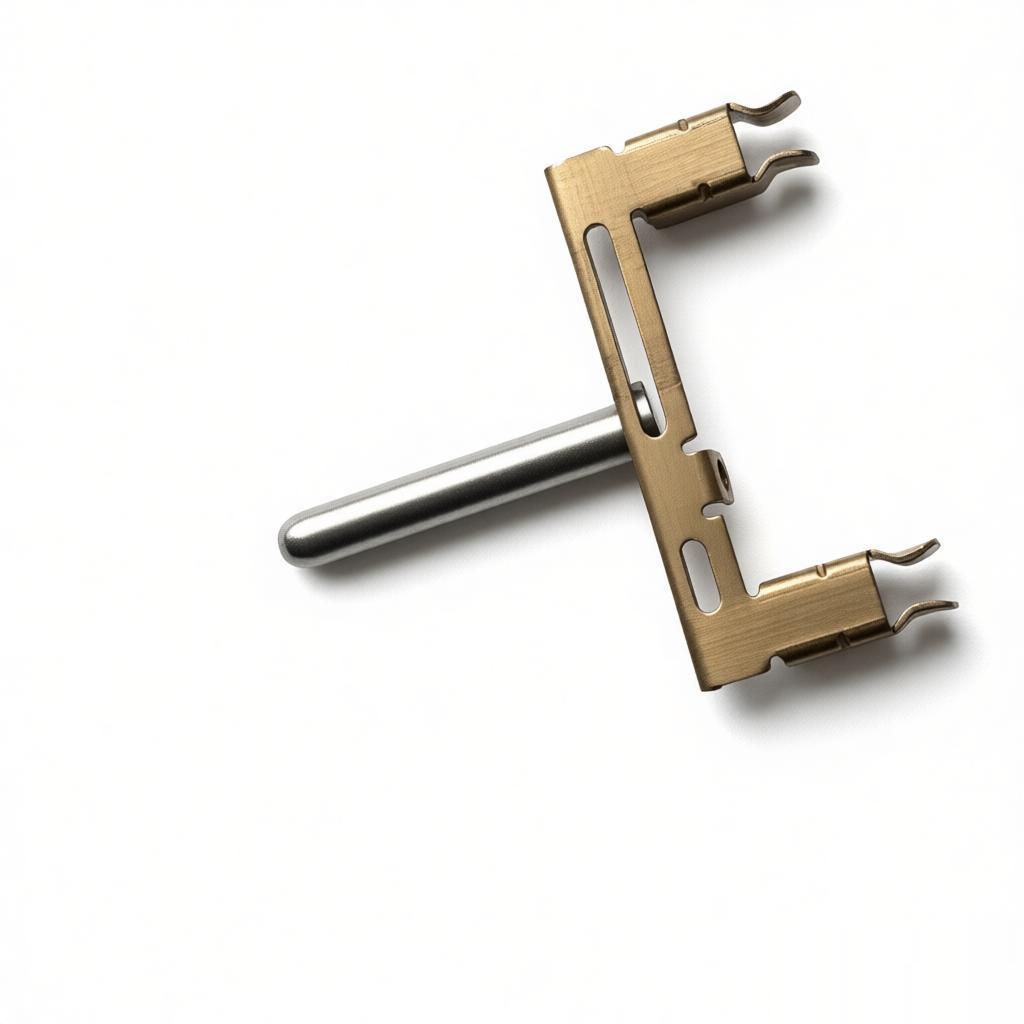
Understanding Deep Draw Stamping
Deep draw stamping involves a punch that pushes a metal blank into a die cavity, causing the material to flow and take the shape of the die. The process is called 'deep' when the depth of the drawn part exceeds its diameter. It requires careful control of material flow, lubrication, and press speed to avoid defects like tearing, wrinkling, or thinning.
How Deep Draw Stamping Works
The process begins with a blank placed over a die opening. A punch descends, forcing the blank into the die. The metal stretches and flows radially inward. Multiple draws may be needed for very deep parts, with intermediate annealing to relieve work hardening. Key parameters include blankholder force, punch radius, die radius, and clearance between punch and die.
Key Design Considerations
Designing a part for deep draw stamping requires attention to geometry, material properties, and process limitations. Below are critical factors.
Part Geometry
Depth-to-Diameter Ratio: The deeper the part relative to its diameter, the more challenging the draw. Typical limits are 2:1 for a single draw; deeper parts require multiple draws.
Corner Radii: Sharp corners increase stress concentration and risk of tearing. Use generous radii (at least 3-5 times material thickness) on both punch and die.
Wall Thickness: Expect thinning, especially at corners and sidewalls. Allow for thickness variation in the design.
Draft Angles: Vertical walls are difficult; include slight draft (1-5 degrees) to aid material flow and part ejection.
Material Selection
| Material | Formability | Common Applications |
|---|---|---|
| Low Carbon Steel | Excellent | Automotive panels, kitchen sinks |
| Stainless Steel | Good (requires more force) | Medical devices, food equipment |
| Aluminum | Moderate (prone to wrinkling) | Lightweight enclosures, heat sinks |
| Copper/Brass | Very good | Electrical components, decorative items |
Choose materials with high elongation and low yield strength for easier drawing. Avoid materials with large grains or surface defects.
Tooling and Die Design
Proper tooling is essential for consistent quality. Consider these aspects:
Punch and Die Radii: Larger radii reduce stress and allow smoother material flow. For deep draws, use a punch radius of 4-8 times material thickness.
Clearance: Optimal clearance between punch and die is typically 1.1 to 1.2 times material thickness. Too tight causes tearing; too loose causes wrinkling.
Blankholder Force: Apply sufficient force to prevent wrinkling but not so much that it restricts material flow. Use draw beads or steps to control flow.
Lubrication: Use high-pressure lubricants to reduce friction and prevent galling. Apply evenly to both sides of the blank.
Common Defects and Solutions
Even with good design, defects can occur. Here are typical issues and how to fix them:
| Defect | Cause | Solution |
|---|---|---|
| Wrinkling | Insufficient blankholder force or excessive material flow | Increase blankholder force, add draw beads, reduce clearance |
| Tearing | High stress concentration, sharp radii, or material too brittle | Increase radii, use more ductile material, reduce draw depth per stage |
| Thinning | Excessive stretching | Adjust blank size, add intermediate annealing, use multiple draws |
| Scratches | Poor lubrication or tool surface finish | Improve lubrication, polish dies, use harder tool materials |
Tips for Successful Deep Drawing
Based on industry best practices, here are actionable tips:
Perform Finite Element Analysis (FEA): Simulate the process to identify potential issues before building tooling. This saves time and cost.
Optimize Blank Shape: Use blanks with rounded corners rather than square to reduce stress concentrations. Consider blank development software.
Use Progressive Tooling: For high-volume production, progressive dies with multiple stations can perform cutting, drawing, and trimming in a single press stroke.
Control Temperature: For deep draws, heat can be beneficial. Warm forming (e.g., for aluminum) improves formability and reduces springback.
Test and Iterate: Prototype with soft tooling if possible. Adjust parameters based on trial results before committing to hard tooling.
Partner with Experienced Manufacturers: Work with a metal stamping expert who understands deep draw intricacies, such as our team at [Company Name]. We offer design assistance and quality assurance.
Conclusion
Deep draw stamping is a highly efficient way to produce strong, seamless metal components. By paying attention to design geometry, material selection, tooling, and process parameters, you can achieve consistent quality and minimize defects. Whether you are designing a new part or optimizing an existing one, these considerations and tips will guide you toward successful deep drawing. Contact us to discuss your project requirements and leverage our expertise in metal stamping services.
Frequently Asked Questions
What is the maximum depth-to-diameter ratio for a single deep draw stamping operation?
The typical limit for a single draw is a 2:1 depth-to-diameter ratio. Deeper parts require multiple draws, often with intermediate annealing to relieve work hardening and prevent defects like tearing or wrinkling.
What corner radii should I specify on my deep drawn part to avoid tearing?
Use generous corner radii of at least 3-5 times the material thickness on both the punch and die. Sharp corners increase stress concentration and risk of tearing, so larger radii help ensure material flow and part integrity.
Which materials are best for deep draw stamping, and how do they compare?
Low carbon steel offers excellent formability for automotive panels and sinks. Stainless steel has good formability but requires more force. Aluminum is moderate and prone to wrinkling, while copper and brass provide very good formability for electrical components. Choose materials with high elongation and low yield strength.
Why are draft angles important in deep drawn parts?
Vertical walls are difficult to form and eject. Including a slight draft angle of 1-5 degrees aids material flow during the draw and facilitates part ejection from the die, reducing the risk of surface damage and improving overall manufacturability.