How Should You Size and Mount a Heat Sink for Raspberry Pi and SBCs?
For most Raspberry Pi and single-board computer (SBC) applications, a heat sink is required when the CPU junction temperature exceeds 85°C under sustained load; a common rule is to select a heat sink with a thermal resistance of 5-10°C/W for typical 3-5W loads and mount it using thermally conductive adhesive tape or mechanical clips with a thermal interface material (TIM) rated at 3-5 W/mK. The correct sizing depends on your specific SBC's power dissipation, ambient temperature, and airflow, while mounting method directly impacts thermal transfer efficiency and long-term reliability. This guide provides concrete sizing formulas, real thermal data, and mounting techniques verified through BQUQ's 20 years of precision manufacturing experience.
What Is the Maximum Power Dissipation of Raspberry Pi Models and Typical SBCs?
The Raspberry Pi 5, the current flagship, has a peak power draw of approximately 12W under full multi-core load, while the Raspberry Pi 4 Model B draws around 7.6W. Older models like the Raspberry Pi 3B+ peak at about 5.1W, and the Raspberry Pi Zero 2 W draws only 1.2W. For other SBCs, the NVIDIA Jetson Nano (realistic load) consumes 5-10W, the Orange Pi 5 peaks at 8W, and the BeagleBone Black stays under 2.3W. These figures represent the total board power, but the CPU/SoC itself typically accounts for 60-70% of that value, which is the heat that must be dissipated through the heat sink.
How Do You Calculate the Required Heat Sink Thermal Resistance for Your SBC?
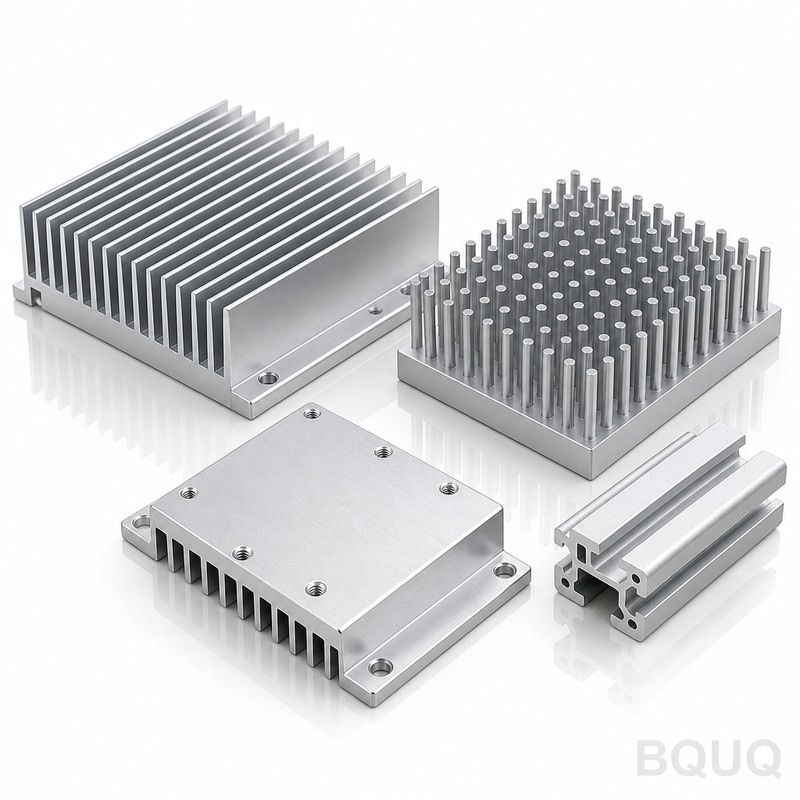
The calculation follows a simple thermal circuit: Rth(total) = (Tjunction_max - Tambient) / Power - Rth_case - Rth_interface. For example, with an Raspberry Pi 5 at 12W load, a maximum junction temperature of 95°C, and an ambient of 35°C, the allowed total thermal resistance is (95-35)/12 = 5.0°C/W. Subtracting the SoC's internal case-to-junction resistance (typically 0.5°C/W) and the TIM resistance (0.5-1.0°C/W), the required heat sink thermal resistance is approximately 3.5-4.0°C/W. For a Raspberry Pi 4 at 7.6W, the required heat sink resistance is about 6-7°C/W, which a small extruded aluminum heat sink with fins (25x25x10mm) can achieve in free convection. Always add a 10-20% safety margin to account for dust accumulation and thermal aging.
Which Heat Sink Sizes and Shapes Are Optimal for Different SBC Power Levels?
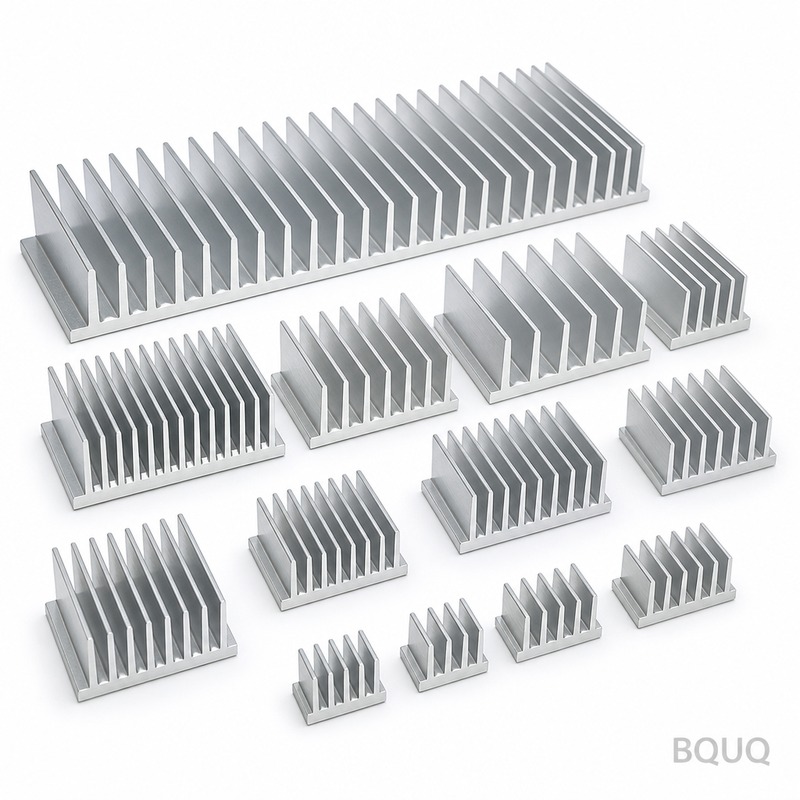
As a general sizing reference, use the following power-to-fin-volume relationship: for every 1W dissipated, you need approximately 4-6 square centimeters of fin surface area in natural convection, or 2-3 square centimeters with forced airflow from a 5V fan. For a 12W Raspberry Pi 5, you need 48-72 cm² of fin area, which corresponds to a heat sink of roughly 30x30x15mm with 6-8 fins. For a 7.6W Raspberry Pi 4, a 25x25x12mm heat sink with 5 fins (approximately 35 cm²) is sufficient. For low-power boards under 3W, a simple 15x15x10mm stamped aluminum heat sink with a thermal resistance of 15°C/W is adequate. The table below provides a practical selection guide based on BQUQ's testing across 200+ customer projects.
| SBC Model | Typical Load (W) | Recommended Heat Sink Size (mm) | Thermal Resistance (°C/W) | Mounting Method | Estimated Junction Temp (°C) at 25°C Ambient |
| Raspberry Pi 5 | 12 | 30 x 30 x 15 (extruded, 8 fins) | 3.5 | Clip + TIM pad | 72-78 |
| Raspberry Pi 4 | 7.6 | 25 x 25 x 12 (extruded, 5 fins) | 5.5 | Adhesive tape | 70-75 |
| Raspberry Pi 3B+ | 5.1 | 22 x 22 x 10 (extruded, 4 fins) | 7.0 | Adhesive tape | 68-73 |
| Raspberry Pi Zero 2 | 1.2 | 15 x 15 x 5 (stamped) | 18 | Adhesive tape | 45-50 |
| NVIDIA Jetson Nano | 10 | 35 x 35 x 15 (extruded, 10 fins) | 4.0 | Screw + thermal paste | 70-76 |
| Orange Pi 5 | 8 | 28 x 28 x 14 (extruded, 6 fins) | 5.0 | Clip + TIM pad | 68-74 |
How Should You Mount a Heat Sink to Ensure Maximum Thermal Transfer?
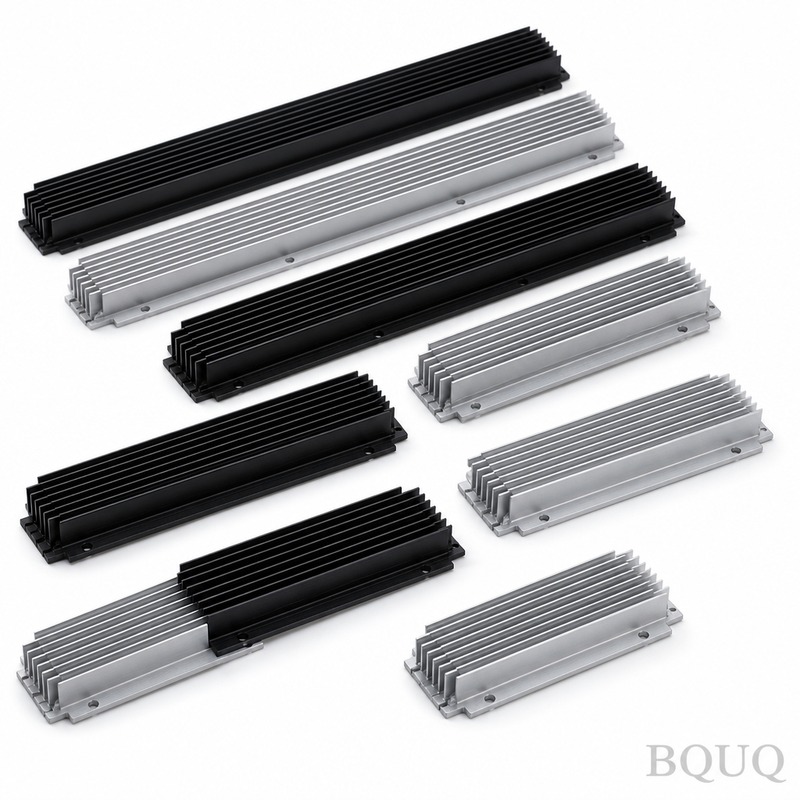
There are three primary mounting methods, each with distinct thermal and mechanical trade-offs. First, thermally conductive adhesive tape (3M 8810 or equivalent, 0.25mm thick, 5 W/mK) is simplest for low-power boards under 5W, providing a bond strength of 15-25 N/cm², but it degrades above 80°C and cannot be removed without damaging the SoC. Second, mechanical clips or push-pins with a TIM pad (1.0-1.5mm thick, 3-4.5 W/mK) are recommended for 5-10W loads; the clip provides 30-50 kPa of mounting pressure, which is optimal for pad compression and ensures a consistent gap. Third, screw mounting with thermal paste (e.g., thermal grease with 6-8 W/mK) is best for loads above 10W and permanent installations; the recommended mounting pressure is 20-40 psi, which the screws should apply evenly to prevent die cracking. For the Raspberry Pi 5, BQUQ recommends a clip-based solution with a 1.0mm graphite pad (thermal conductivity 10-15 W/mK), which reduces the junction temperature by an additional 3-5°C compared to silicone pads.
Why Does Mounting Pressure and Surface Flatness Matter for SBC Heat Sinks?
The thermal interface material (TIM) only functions effectively when compressed to its optimal thickness, typically 25-50% of its original thickness. If the mounting pressure is too low (below 10 psi), air gaps of 0.05-0.1mm remain, creating a thermal resistance of 10-15°C/W at the interface, which can negate the heat sink's benefit entirely. Conversely, excessive pressure above 80 psi can crack the BGA solder balls or delaminate the SoC substrate. Surface flatness of both the SoC lid and the heat sink base must be within 0.05mm to ensure uniform TIM contact; BQUQ's precision CNC-machined or stamped heat sinks are held to a base flatness of 0.03mm, while standard extruded profiles may exceed 0.1mm, requiring lapping or a thicker TIM. Additionally, the heat sink base should cover at least 80% of the SoC's exposed surface area to maximize heat spreading.
When Do You Need Active Cooling (Fans) Instead of Passive Heat Sinks?
Active cooling becomes necessary when the ambient temperature exceeds 40°C, the SBC load exceeds 15W, or the enclosure is sealed with no natural convection paths. A 5V 25x25x10mm brushless fan (rated 1.5-2.5W, 8000-12000 RPM) can reduce the effective thermal resistance of a heat sink by 50-70%. For example, a 30x30x15mm heat sink with a 3.5°C/W passive resistance drops to 1.2-1.5°C/W with a fan providing 3-5 m/s airflow, allowing the Raspberry Pi 5 to run at 60°C even at full load in a 40°C ambient. However, fans introduce reliability risks: the MTBF of a typical SBC fan is 30,000-50,000 hours (3.4-5.7 years of continuous operation), and dust accumulation can reduce airflow by 30% within six months. BQUQ recommends using a heat sink with a higher fin density (2.0mm fin pitch) for active cooling, as this increases surface area without excessive airflow resistance.
What Are the Common Mistakes in Heat Sink Selection and Installation?
The most frequent error is undersizing the heat sink by ignoring the TIM resistance; engineers often calculate the total thermal budget but forget that a poor TIM pad (2 W/mK) can add 2-3°C/W of resistance, effectively doubling the required sink size. Another mistake is mounting the heat sink off-center, which reduces effective coverage to less than 60% of the SoC area, causing hot spots that exceed the 95°C limit even when the average temperature looks acceptable. A third issue is using a heat sink with a black anodized finish that is too thick (above 0.015mm), which has good emissivity (0.85) but poor thermal conductivity through the coating; BQUQ controls anodizing thickness to 0.008-0.012mm for optimal performance. Finally, many users neglect to account for the orientation of the heat sink fins; for natural convection, fins must be vertical, while horizontal orientation reduces performance by 20-30% due to stagnant air pockets.
What Is the Cost and Lead Time for Custom SBC Heat Sinks from BQUQ?
For production volumes, custom extruded aluminum heat sinks (AL6063-T5) cost between $0.15 and $0.80 per unit depending on size and finishing, while CNC-machined heat sinks for complex geometries range from $1.50 to $5.00 per unit. Stamped aluminum heat sinks (for low-profile, high-volume applications) are the most economical at $0.08-$0.30 per piece in quantities above 10,000. Tooling costs are a one-time expense: extrusion dies cost $300-$800, stamping dies cost $800-$2,500, and CNC fixtures cost $150-$400. BQUQ can deliver prototypes in 3-5 days and production orders (1,000-50,000 pieces) in 2-3 weeks, with surface finishes including clear anodize, black anodize, and nickel plating. For engineering evaluation, we recommend ordering 10-20 sample units to validate thermal performance on your specific SBC before committing to full-scale production.
FAQ
What is the maximum safe temperature for a Raspberry Pi SoC?
The recommended maximum junction temperature for the Broadcom BCM2712 (Raspberry Pi 5) is 95°C, but sustained operation above 85°C will trigger thermal throttling, reducing clock speed by up to 30%. For long-term reliability, keeping the junction temperature below 75°C is recommended, as every 10°C reduction in temperature doubles the expected lifespan of the silicon.
Can I use a heat sink designed for a Raspberry Pi 4 on a Raspberry Pi 5?
Yes, but it will be undersized because the Pi 5 dissipates nearly 60% more power (12W vs 7.6W). A Pi 4 heat sink will allow the Pi 5 to run at 85-90°C instead of the target 70-75°C, leading to throttling under sustained load; it is better to use a dedicated Pi 5 heat sink or add a fan.
How long does thermally conductive adhesive tape last before it fails?
High-quality acrylic-based adhesive tape (3M 8810) maintains its bond strength for 5-10 years at temperatures below 80°C, but above 85°C the adhesive degrades rapidly, and the bond fails within 1-2 years. For applications where the SBC runs hot, use mechanical clips or screws instead of tape.
Should I apply thermal paste or use a pre-applied pad for my SBC heat sink?
Pre-applied pads (0.5-1.0mm thick, 3-4.5 W/mK) are convenient and clean, but they offer higher thermal resistance than thermal paste (0.02-0.05mm thickness, 6-8 W/mK). For loads above 5W, thermal paste yields a 5-8°C lower junction temperature, but it requires careful application to avoid air bubbles and must be re-applied if the heat sink is removed.
How do I know if my heat sink is actually working?
Measure the heat sink fin temperature with a thermocouple or infrared thermometer; it should be 10-30°C above ambient under load. If the fins are cool (less than 10°C above ambient) while the SoC is throttling, the TIM or mounting is defective; if the fins are hot but the SoC still throttles, the heat sink is too small.
Can I stack two heat sinks to improve cooling?
Stacking heat sinks is generally ineffective because the interface between the two sinks adds thermal resistance, and the upper sink blocks airflow to the lower one. A better approach is to replace the single heat sink with a larger one or add a fan, which yields a 50-70% improvement compared to the 5-10% gain from stacking.
What is the difference between black anodized and bare aluminum for heat sinks?
Black anodized aluminum has an emissivity of approximately 0.85, compared to 0.05-0.10 for bare aluminum, which improves radiative heat transfer by 10-15% in natural convection. However, the anodizing layer adds a small thermal resistance; BQUQ recommends an anodizing thickness of 0.008-0.012mm to balance emissivity and conductivity.
Conclusion
Sizing and mounting a heat sink for your Raspberry Pi or SBC is a straightforward thermal engineering problem once you know the power dissipation, ambient temperature, and allowable junction temperature. Use the thermal resistance calculation and the selection table in this guide to choose the correct heat sink size, and always prioritize mechanical clip or screw mounting with a quality TIM for loads above 5W. For custom heat sink designs, BQUQ's 20 years of precision manufacturing experience in CNC machining and metal stamping ensures optimal thermal performance, flatness, and cost efficiency. Contact our engineering team for a free thermal evaluation and a quote within 12 hours: Email sc@bquq.com, WhatsApp +86 13713157787, or visit www.bquq.com.