Precision Components for Consumer Electronics: 5-Axis CNC Laptop Housing Manufacturing Case Study
**Introduction**
In the competitive landscape of consumer electronics, the laptop housing is far more than a cosmetic shell; it is a complex precision component that dictates thermal performance, structural rigidity, and electromagnetic interference (EMI) shielding. This case study details the engineering and manufacturing processes used to produce a high-volume aluminum laptop housing, specifically focusing on how tight tolerances, material selection, and surface finishing are managed. For engineers, the key takeaway is this: achieving a sub-0.1mm tolerance on a 15.6-inch part while maintaining a 20-unit-per-hour cycle time requires a controlled blend of 5-axis CNC machining, precision stamping, and rigorous metrology.

**H2: Material Selection and Initial Blanking Specifications**
The project began with the selection of Aluminum Alloy 6061-T6 (UNS A96061) due to its excellent strength-to-weight ratio and weldability. The housing measured 360mm x 240mm with a wall thickness of 1.2mm. To optimize cost, we utilized a hybrid approach: the main chassis frame was produced via CNC machining from a solid billet, while the internal structural ribs and mounting brackets were produced via progressive die stamping.
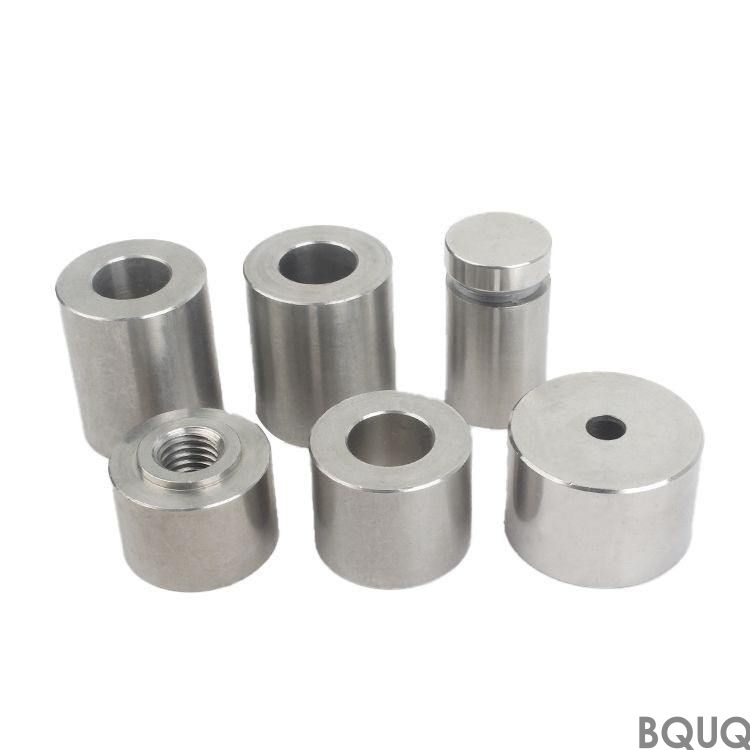
- **CNC Billet:** 6061-T6, tolerance of +/- 0.05mm on critical mounting points. - **Stamped Components:** 5052-H32 aluminum, 0.8mm thickness, with a burr height limit of less than 0.05mm. - **Pre-Treatment:** Parts were stress-relieved at 150 degrees Celsius for 3 hours to prevent distortion after machining.
The initial blanking operation for stamped parts used a progressive die with a clearance of 5% of material thickness per side (0.04mm). This ensured a clean shear zone, reducing the need for secondary deburring operations.
**H2: The 5-Axis CNC Machining Sequence and Toolpath Strategy**
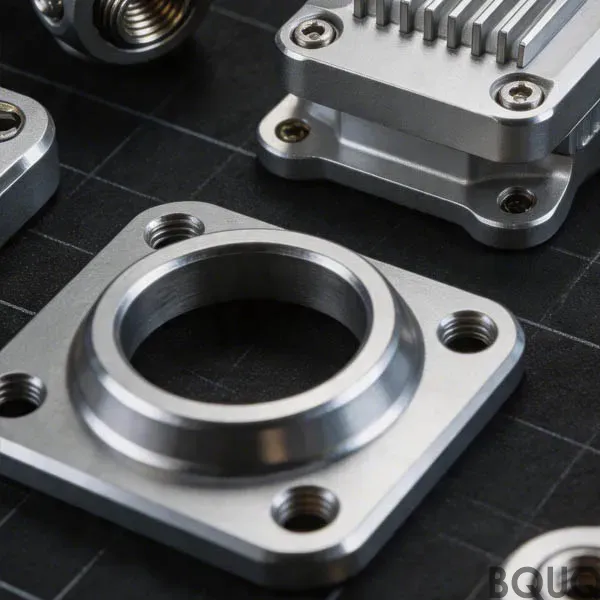
The core of the housing manufacturing relies on a 5-axis CNC machining center (DMG MORI DMU 50). Unlike 3-axis machining, 5-axis allows the tool to maintain a perpendicular orientation to the cutting surface, which is critical for achieving a 0.8Ra surface finish on the side walls without visible tool marks.
**Machining Parameters:** - **Roughing:** 4-flute carbide end mill, 12mm diameter, spindle speed 10,000 RPM, feed rate 2,500 mm/min, depth of cut 2.0mm. - **Semi-Finishing:** 6mm end mill, spindle speed 12,000 RPM, feed rate 1,800 mm/min. - **Finishing:** 4mm ball nose, spindle speed 15,000 RPM, feed rate 1,200 mm/min, step-over of 0.15mm.
The total CNC cycle time per housing was 28 minutes. To maximize throughput, we employed a "tombstone" fixture allowing for the simultaneous machining of two parts per cycle. The critical tolerance held was the distance between the hinge mounts: 280.00mm +/- 0.03mm, measured at a constant 23 degrees Celsius to avoid thermal expansion errors (Aluminum expands at approximately 23.5 x 10^-6 per degree Celsius).
**H2: Precision Metal Stamping for Internal EMI Shielding**
While the exterior is CNC machined, the internal EMI shielding cages and heat sink clips are manufactured via high-speed precision stamping. This process was chosen for high-volume production efficiency (over 500,000 units/year) where CNC machining would be cost-prohibitive.
The stamping operation utilized a 250-ton high-speed press running at 120 strokes per minute. The specific challenge here was the "springback" of the aluminum. To compensate, the die design incorporated an over-bend angle of 3 degrees. The final flatness tolerance for the EMI shield was 0.1mm over a 100mm span. The die was constructed from D2 tool steel, hardened to 58-60 HRC, to ensure a die life of over 1 million strokes before requiring maintenance.
**Data Table: Comparative Manufacturing Metrics (CNC vs. Stamping)**
| Metric | CNC Machining (Main Chassis) | Progressive Stamping (EMI Shield) | :--- | :--- | :--- | **Material** | Aluminum 6061-T6 | Aluminum 5052-H32 | **Dimensional Tolerance** | +/- 0.03 mm | +/- 0.08 mm | **Surface Finish (Ra)** | 0.8 µm | 1.6 µm | **Cycle Time** | 14 min/part (dual fixture) | 0.5 sec/part | **Tooling Cost (Initial)** | $8,500 | $12,000 | **Unit Cost (at 10k pcs)** | $18.50 | $1.20 | **Max Operating Temp** | 150°C | 120°C |
|---|
**H2: Surface Finishing and Anodizing Process Control**
The final step for the CNC housing is hard-coat anodizing (Type III) to increase wear resistance and provide the aesthetic matte finish. This process is critical for consumer electronics due to the "feel" of the material.
- **Pre-Cleaning:** Ultrasonic cleaning in a 5% alkaline solution at 60°C. - **Anodizing Bath:** 15% sulfuric acid solution at 2 degrees Celsius, with a current density of 3.0 A/dm². - **Coating Thickness:** 30 to 40 microns. - **Sealing:** Hot water seal at 95 degrees Celsius for 20 minutes.
The challenge here is dimensional growth. The anodizing process adds 50% of the coating thickness to the part dimensions. Therefore, we machine the critical hinge holes to 5.95mm, knowing the final anodized size will be 6.00mm (+/- 0.02mm). This pre-compensation is essential to maintain the press-fit tolerance for the hinge assembly.
**H2: Metrology and In-Process Quality Assurance**
To guarantee 100% dimensional compliance, we do not rely on post-production sampling. We use a combination of automated in-line inspection and CMM (Coordinate Measuring Machine) verification.
1. **In-Line Probing:** During CNC machining, a Renishaw touch probe measures the critical bore positions every 5th part. If the probe detects a drift of more than 0.01mm from the nominal, the machine automatically applies a tool wear compensation offset. 2. **CMM Final Audit:** Every 50th part is taken to a temperature-controlled metrology lab (20°C +/- 0.5°C) and checked with a Zeiss CMM. The measurement protocol includes 45 distinct datums and geometric dimensioning and tolerancing (GD&T) checks, including true position of the USB-C ports at 0.05mm MMC (Maximum Material Condition).
**H2: FAQ: Engineering Tips for Laptop Housing Manufacturing**
**Q1: How do I balance weight reduction with structural rigidity?** A: Do not simply thin the walls. Use a "honeycomb" or ribbed structure on the interior via CNC machining. By machining pockets down to 0.8mm thickness in non-critical areas while leaving 2.0mm ribs at stress points, you can reduce weight by up to 20% without compromising stiffness.
**Q2: What is the fastest way to get a prototype?** A: For prototype verification, we recommend skipping hard tooling. Use 3-axis CNC machining for the exterior and 3D-printed (SLS) nylon for internal clips. This reduces lead time from 4 weeks to 5 days, allowing you to validate the design before investing in costly progressive dies.
**Q3: How do I prevent "oil canning" (warping) on large flat surfaces?** A: Oil canning is typically caused by residual stress in the material. We recommend specifying the aluminum with a "low-stress" temper and performing a stress-relief heat treatment before final machining. Additionally, avoid a perfectly flat design; introduce a slight crown of 0.1mm to the center of the panel to add pre-tension.
**Q4: What is the realistic minimum wall thickness for a CNC laptop cover?** A: For a 6061-T6 aluminum housing, the absolute minimum is 0.6mm, but this is risky. At 0.8mm, you can maintain a stable tolerance of +/-0.05mm without vibration chatter. Below 0.6mm, you will experience severe deflection during machining, resulting in inconsistent wall thickness and potential breakage.
**Conclusion**
This case study demonstrates that manufacturing precision components for consumer electronics is not a single process, but an integrated system of material science, CNC machining, stamping, and surface chemistry. The success of the laptop housing project hinged on the ability to pre-compensate for anodizing growth and manage thermal expansion during machining. By maintaining a strict tolerance of 0.03mm on critical interfaces and utilizing automated in-process verification, it is possible to achieve high-volume production with near-zero defects.
At BQUQ, we have spent 20 years perfecting these workflows in our Dongguan facility. Whether you are designing a thin-and-light ultrabook or a ruggedized industrial laptop, our engineering team is prepared to review your DFM (Design for Manufacturing) analysis and provide you with a production-ready solution.
For a detailed quote on your specific housing design, contact our engineering team for a 12-hour response.
**Email:** sc@bquq.com **WhatsApp:** +86 13713157787 **Website:** www.bquq.com
Related Articles
- CNC Machining for Marine Metal Components | Expert Guide
- 5 Benefits of CNC Precision Turned Parts for Aerospace
- Custom Metal Stamping vs CNC Machining Cost Comparison
Frequently Asked Questions
What aluminum alloys are used for the laptop housing and internal components?
The main chassis frame is CNC machined from Aluminum Alloy 6061-T6 (UNS A96061), while internal structural ribs and mounting brackets are stamped from 5052-H32 aluminum at 0.8mm thickness. The 6061-T6 was chosen for its strength-to-weight ratio and weldability.
What tolerances can you achieve on critical laptop housing features?
We hold +/- 0.05mm tolerance on critical CNC machining points, and the distance between hinge mounts is maintained at 280.00mm +/- 0.03mm. Stamped components have a burr height limit of less than 0.05mm. All measurements are taken at a constant 23 degrees Celsius to avoid thermal expansion errors.
How do you ensure a high-quality surface finish without visible tool marks?
We use a 5-axis CNC machining center (DMG MORI DMU 50) to keep the tool perpendicular to the cutting surface. Finishing passes use a 4mm ball nose end mill at 15,000 RPM with a 0.15mm step-over, achieving a 0.8Ra surface finish on side walls.
What is the production cycle time for one laptop housing?
The total CNC cycle time is 28 minutes per housing. Using a tombstone fixture, we machine two parts simultaneously per cycle, achieving a throughput of 20 units per hour while maintaining sub-0.1mm tolerances on the 15.6-inch part.