How to Mount a Heat Sink: Screws, Clips, Thermal Tape and Adhesives Compared
Selecting the correct mounting method for a heat sink is a thermal-mechanical decision that directly impacts junction temperature, reliability, and assembly cost. For most applications above 10 W of dissipation, screw mounting with thermal grease is the only method that guarantees a consistent, low thermal resistance path; for low-power components under 5 W, thermal tape or adhesives offer a cost-effective solution with acceptable performance. Below, we break down the engineering trade-offs, real-world tolerances, and cost data for each mounting technique based on our 20 years of CNC machining and thermal management experience.
Thermal Resistance and Mechanical Force Fundamentals
The primary goal of any heat sink attachment is to minimize the thermal resistance (Rth) across the interface between the component and the sink base. This resistance is inversely proportional to contact pressure and surface flatness. A screw-mounted heat sink with a quality thermal paste can achieve an interface resistance of 0.05 to 0.15 °C·cm²/W, while a clip system typically ranges from 0.15 to 0.30 °C·cm²/W due to lower, less uniform pressure. Thermal tape, which has an inherent material resistance, rarely goes below 0.5 °C·cm²/W, and adhesives are similar but with the added penalty of a thicker bond line.
Mechanical force is the critical variable. For optimal thermal performance, the contact pressure should be between 50 and 150 psi (0.34 to 1.03 MPa) across the component surface. Screws can deliver a precise, repeatable clamping force of 100 to 200 N with a torque-controlled driver. Clips typically provide 20 to 50 N of force, which is sufficient for small TO-220 packages but inadequate for large IGBT modules. Thermal tape and adhesives rely on chemical bonding, not mechanical pressure, so they do not benefit from increased force and instead depend entirely on the material's thermal conductivity, typically 0.5 to 1.5 W/m·K for tape versus 40 to 400 W/m·K for an aluminum or copper heat sink.
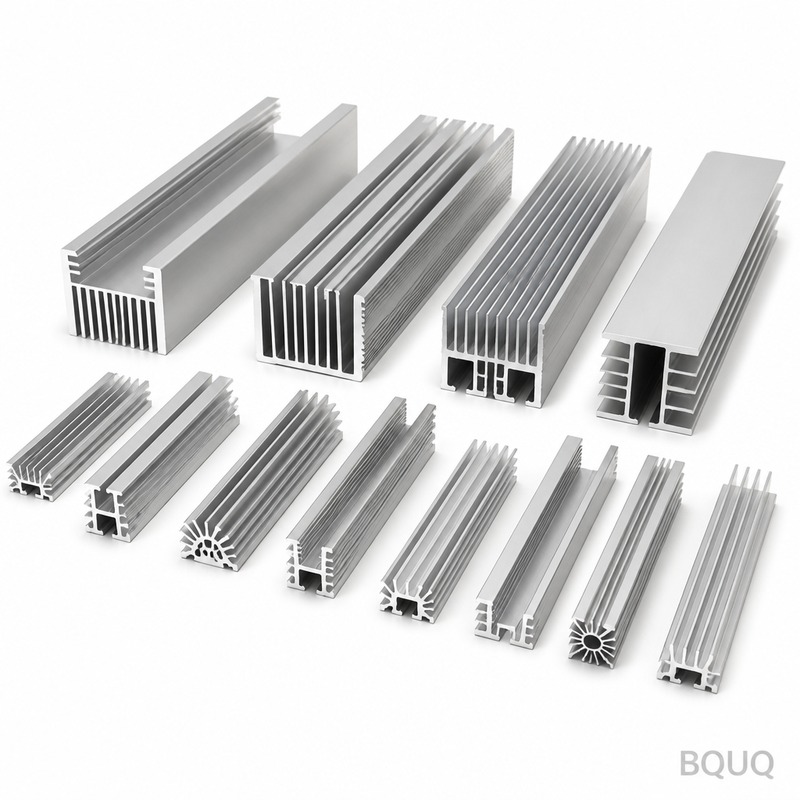
Screw Mounting: Precision and Repeatability
Screw mounting is the industry standard for power electronics, CPUs, and any device dissipating more than 10 W. The process involves drilling or tapping holes in the heat sink base, aligning the component, applying thermal grease, and torquing screws to a specific value. For a standard TO-220 package, we recommend M3 screws with a torque of 0.4 to 0.6 N·m. For larger modules like a TO-247, use M3 or M4 screws with a torque range of 0.6 to 1.0 N·m.
The critical tolerances are the flatness of the heat sink base (we machine to 0.05 mm over 100 mm) and the perpendicularity of the tapped holes (typically ±0.1 mm). Screw mounting allows for rework, which is a major advantage. If a component fails, you can remove the heat sink, clean the surfaces, and reapply. The thermal interface material (TIM) cost is low, around 0.05 to 0.20 USD per application for a quality silicone-based grease. However, the labor cost is higher due to the manual torque operation. In high-volume production, we recommend using a pneumatic screwdriver with a torque limiter to ensure consistency.
Clip Mounting: Speed and Tool-Free Assembly
Clip mounting is a compromise between cost and performance. It is widely used in consumer electronics, power supplies, and LED lighting where assembly speed is critical. A typical clip mechanism uses a spring-steel or stamped metal frame that presses the heat sink onto the component. The main advantage is a 3 to 5 second installation time with no tools, versus 15 to 30 seconds for screw mounting.
The thermal performance is limited by the maximum spring force, which is constrained by the risk of cracking the component die. For a TO-220 package, a clip force of 20 to 30 N is typical, yielding an interface resistance of 0.20 to 0.30 °C·cm²/W. This is acceptable for applications up to 10 W. One significant issue is the lack of a defined torque specification; the pressure depends on the clip's spring constant and the heat sink's height tolerance. We recommend specifying a heat sink base flatness of 0.10 mm or better to avoid uneven pressure. Clip cost is low, at 0.03 to 0.10 USD per unit, but the heat sink itself often requires a custom groove or ledge for the clip to engage, adding 5-10% to the machining cost.
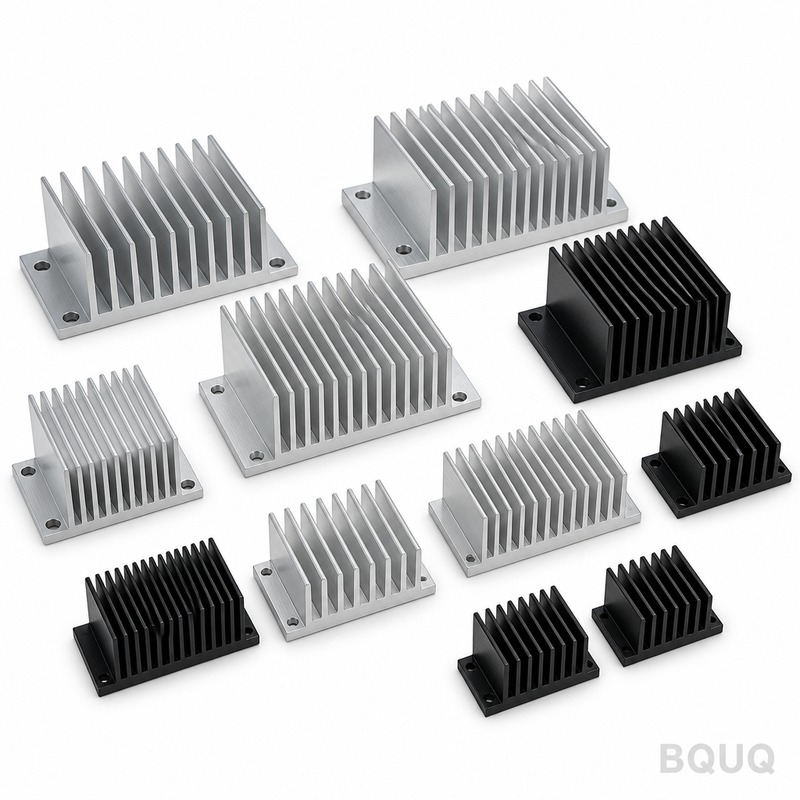
Thermal Tape and Adhesives: Low-Cost, Low-Power Solutions
Thermal tape is a pressure-sensitive adhesive with a ceramic or acrylic filler. It is ideal for low-power components (under 5 W) such as voltage regulators, small MOSFETs, or memory chips. The tape is die-cut to the component footprint and applied directly to the heat sink. The thermal conductivity ranges from 0.5 to 1.5 W/m·K, and the bond line thickness is typically 0.05 to 0.25 mm. The interface resistance is 0.5 to 1.0 °C·cm²/W, which means a 5 W component will have a temperature rise of 5 to 10 °C across the interface.
Thermal adhesives (liquid or film) offer a permanent bond. Epoxy-based adhesives have a thermal conductivity of 0.8 to 2.0 W/m·K and require a curing time of 2 to 24 hours at room temperature or 30 minutes at 80 °C. The main advantage is that they provide both mechanical attachment and heat transfer without any additional hardware. However, they are permanent; removal often destroys the component. We do not recommend adhesives for any component over 8 W because the bond line thickness is hard to control (typically 0.10 to 0.30 mm), and the thermal expansion mismatch between the silicon die and aluminum heat sink can cause stress fractures after thermal cycling.
Comparison Table of Mounting Methods
| Mounting Method | Max Dissipation (W) | Interface Rth (°C·cm²/W) | Contact Force (N) | Assembly Time (sec) | Cost per Unit (USD) | Reworkable | Typical Application |
| Screws with Thermal Grease | 100+ | 0.05 - 0.15 | 100 - 200 | 15 - 30 | 0.10 - 0.50 | Yes | CPUs, IGBTs, Power Modules |
| Clips with Thermal Grease | 10 - 30 | 0.15 - 0.30 | 20 - 50 | 3 - 5 | 0.05 - 0.20 | Yes | TO-220, Power Supplies |
| Thermal Tape | 0.5 - 5 | 0.50 - 1.00 | N/A (adhesive) | 2 - 5 | 0.10 - 0.30 | No | Voltage Regulators, LED Drivers |
| Thermal Adhesive (Epoxy) | 1 - 8 | 0.40 - 0.80 | N/A (adhesive) | 60 - 600 (cure) | 0.20 - 0.60 | No | Small Sensors, Prototypes |
Practical Recommendations for Engineers
For any design above 10 W, always choose screw mounting. The initial cost of tapping holes (0.05 to 0.15 USD per hole) is negligible compared to the risk of thermal failure. Ensure your heat sink base flatness is specified at 0.05 mm or better; we can achieve this on our CNC machines. Use a torque driver to apply the exact torque, and always use a thermal grease with a conductivity of at least 3 W/m·K. For medium-power components (5 to 15 W) where manual assembly is a bottleneck, clips are acceptable if you can tolerate a 20-30% higher junction temperature. Use a clip with a positive stop to prevent over-compression.
For low-power consumer products, thermal tape is the fastest and cheapest option. However, we strongly advise against using tape on components with a footprint larger than 10x10 mm because the thermal expansion of the heat sink can cause the tape to shear and delaminate. For adhesives, reserve them for prototypes or permanent, low-stress applications. Always check the coefficient of thermal expansion (CTE) mismatch: aluminum is 23 ppm/°C, copper is 17 ppm/°C, and silicon is 2.6 ppm/°C. A large mismatch with a rigid adhesive will eventually crack solder joints.
FAQ-Style Tips for Reliable Mounting
How do I know if my heat sink is flat enough? Use a granite surface plate and a feeler gauge. For screw mounting, the gap should be less than 0.05 mm across the entire component area. If you see a gap of 0.10 mm or more, you need a thicker thermal paste or a machined flat surface.
What is the best thermal grease for screw mounting? For industrial applications, use a grease with a thermal conductivity of 3 to 5 W/m·K, such as a boron nitride or silver-filled silicone compound. It should have a low viscosity (5000 to 10000 cP) to fill micro-gaps but not squeeze out completely. Apply a layer of 0.025 to 0.050 mm thickness.
Can I combine a clip with thermal tape? Yes, but it is rarely necessary. The tape already provides adhesion, so the clip only adds redundant mechanical support. This is common in vibration-prone environments, but it doubles the assembly time. If you do this, use a low-spring-force clip to avoid compressing the tape beyond its designed thickness.
What happens if I overtighten a screw? Overtightening can crack the component die or warp the heat sink base. For an M3 screw in aluminum, the maximum torque is 0.7 N·m. Above that, you risk stripping the threads (in 6061-T6 aluminum, the pull-out strength is about 150 N/mm of thread engagement). Always use a hardened steel insert or a larger screw size if you need more force.
Conclusion
The correct mounting method is determined by power dissipation, production volume, and serviceability requirements. Screws with thermal grease are the undisputed choice for high-power and high-reliability systems, offering the lowest thermal resistance and full reworkability. Clips provide a middle ground for medium-power applications where speed is paramount. Thermal tape and adhesives are limited to low-power, permanent assemblies where cost is the primary driver. By specifying the correct torque, flatness, and TIM, you can ensure that your heat sink operates within the thermal budget for its entire service life.
At BQUQ, we have 20 years of experience machining precision heat sinks with flatness tolerances down to 0.02 mm. We can also provide custom-tapped holes, clip grooves, and surface finishes (anodizing or nickel plating) to match your chosen mounting method. Submit your CAD file for a free design-for-manufacturing review.
For a prompt quotation on precision heat sinks or custom CNC parts, contact our engineering team. We respond within 12 hours with pricing and lead time analysis. Email: sc@bquq.com, WhatsApp: +86 13713157787, www.bquq.com.